Short guide to drawing with Paper for iOS
Table of contents
How do you draw or sketch on an iPad with Paper on iOS? What iPad stylus is the best for creating art? Why does it burn down there when I pee? Wait a minute… I don’t have an answer for that last one, but I think I can help with the first two.
Since publishing this short guide I’ve gone through several iPad styli and written tutorials expanding on the techniques teased here. Be sure to check out my Mastering Paper series to learn the latest ways I’m using the app and tools to create realistic portraits and other pieces of art.
Tools
- Obviously you’ll need an iPad — I use a 3rd generation with the nice retina screen.
- Paper for iOS is my sketching app of choice. It’s a free download, but you’ll want to buy the additional brushes, pens, and Color Mixer — my favorites are the pencil and watercolor brush.
- A stylus is optional, but highly recommended. I use FiftyThree’s Pencil and in the past a Pogo Connect Smart Pen, LunaTik Alloy Touch Pen, and Just Mobile’s AluPen. If you can’t afford a decent stylus right now Amazon has dirt cheap styli for a few dollars that offer more precision than finger painting but not much else.
I’ve since moved on from the LunaTik Touch Pen to using FiftyThree’s Pencil instead.
Every drawing is different and I try to keep that in mind before opening Paper for iOS. With that said, the following are some general steps and techniques I utilize when drawing and painting on a 3rd generation iPad with retina screen.
One thing to remember is, experimenting with all the tools and drawing everyday will up your game. I’ve learned so much doing just that for the last couple of months.
Block out your composition
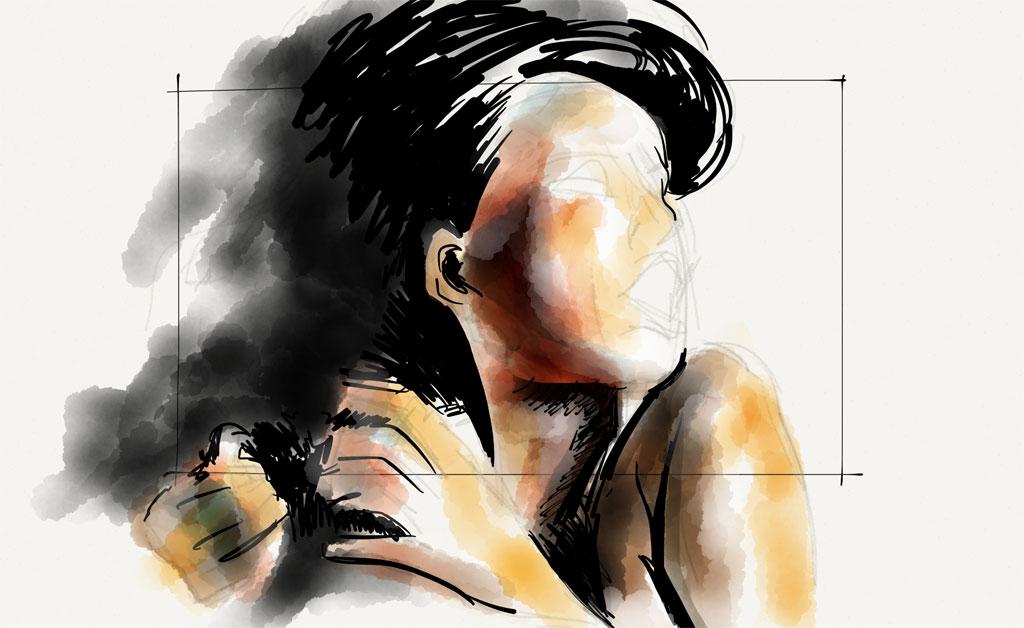
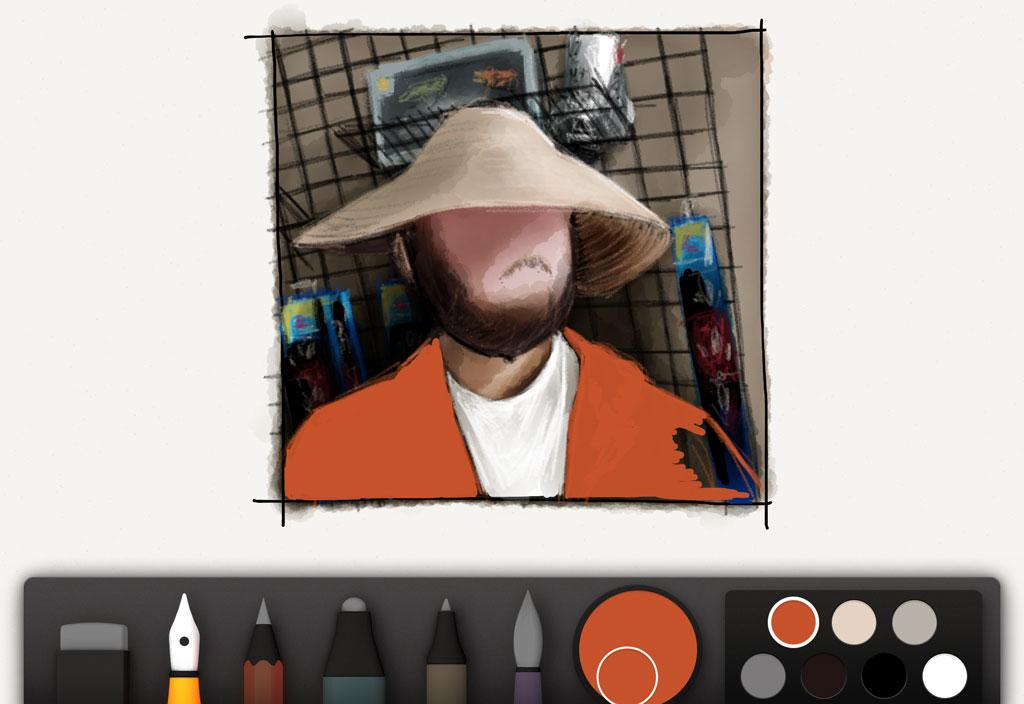
When I begin a new PaperFaces portrait, I start by sketching an imperfect square with the pen tool. I use the square as a rough guide for the composition because I like the look of shapes and lines bleeding outside the border. An alternative would be to use the eraser to straighten up the edges, if you like things neat and tidy. You could of course forgo the square and fill the entire page — whatever works for you.
Usually I pencil in quick gestural outlines as a guide for painting forms later. Other times I jump right to the background and splash in layer upon layer of watercolor. It really depends on the source material and if the background has enough detail to bother with.

Watercolor without water
If you ask me, this tool is what sets Paper for iOS apart from all the other iPad drawing apps like Procreate and Sketchbook Pro. I use the watercolor brush in two ways… well maybe three.
When crisp edges aren’t a concern, I’ll block in color with the watercolor brush. I achieve continuous tones by painting slowly and never removing the stylus (or my finger) from the screen. If I want to create a smooth gradation in color I move the brush progressively faster to fade it out.
Highlights and shadows
Brightening existing areas is achieved with the watercolor brush. Mix enough white into a color and the brush can be used to lighten. This technique is perfect for adding highlights or correcting mistakes when an eraser’s edges might be too harsh. When working with white my general rule of thumb is to move fast. If you stick around in one location too long it’ll lighten too fast. The same is true when using full black…
To shade existing areas apply a darker hue, gray, or black. For backgrounds I tend to use a light blue-gray to paint in shadows. I prefer to start light and layer glazes to add depth and contrast gradually. When working on a subjects’ face, I’ll use a dull brown to add dimension and shape. Applying a coat of gray or brown works wonders on hair as well.
Filling shapes with ink
I don’t use the fountain pen or marker tools all that much because I like my illustrations to have a more painterly feel to them. These tools are perfect for covering large irregular shaped areas with a base color — like hair.
They also come in handy when I need to rework or make adjustments (more precise than the eraser) to something I already drew or painted.

Two things to keep in mind when working with the marker tool:
- It has some translucency to it. If you draw over something, it will most likely show through. Because of this, the marker can help you shade more precisely than the brush since the tip is narrower.
- Black, white, and some dark colors are opaque, meaning they will cover up anything you draw over.
The multipurpose Pencil
I saved the best for last. When I first started using Paper for iOS, I was enamored with the thick and thins of the fountain pen and how true to life the watercolor brush handled. But then I rediscovered an old friend, in a digital world — Mr. Pencil.
Need to lightly sketch out a face… pull out the pencil. Need to smoothen out some edges… pull out the pencil. Need to add shadows and highlights… pull out the pencil.
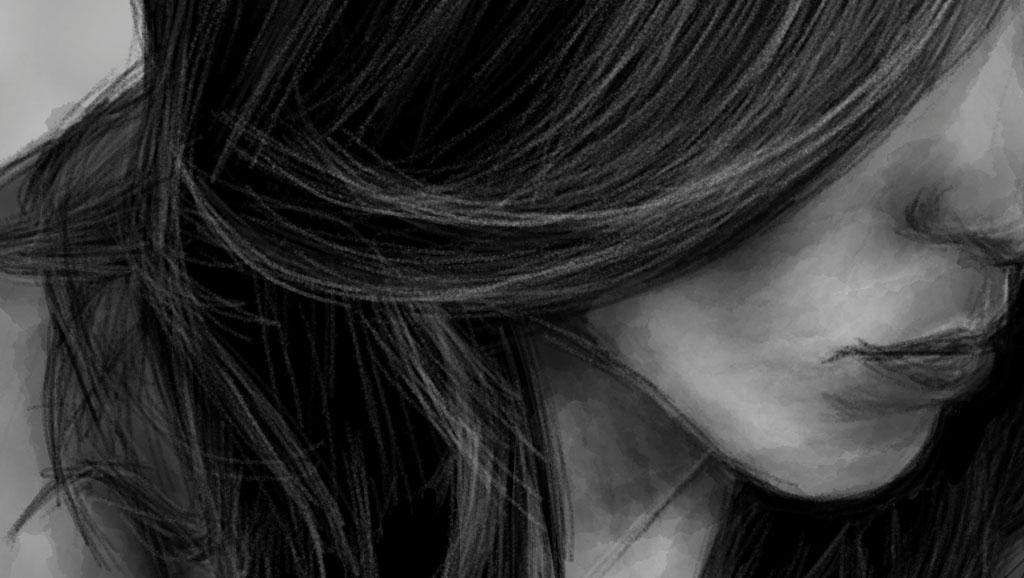
It has so many uses, that by default I spend most of my time with it. My absolute favorite is to use a white on top of a black (or dark background) and sketch in highlights. It’s sick how easy achieving realistic looking hair is when using the pencil.
Read in detail how I draw hair as part of my Mastering Paper by FiftyThree series of tutorials.

Closing thoughts and questions
I hope some of this has been helpful. To better describe and show my process, I’ve recorded speed paintings done with an iPad 3, Paper by FiftyThree, the Mac OS X application Reflector, and edited with Adobe AfterEffects.
I’ve taken the liberty of embedding a video playlist below, demonstrating how I use Paper by FiftyThree to paint portraits. (ProTip: watch it fullscreen). Feel free to comment, like, or subscribe to my channel if you like what you see.
If I missed anything or you’re looking for more pointers leave a comment below or tweet me.
Post contains affiliate and/or referral links. For more details read my disclosure policy.

27 comments